A General Guide for Troubleshooting Your Vellux System
Vellux Self-Maintenance & Troubleshooting Guide for Clients
The Vellux Components
The Vellux Wireless Call System primarily consists of 4 Major components:
- The Monitor
- Buttons
- Pagers
- Repeaters
Each of these components play a vital role and require very little effort to maintain after installation. We will briefly describe each component below and share self-maintenance guidelines that you can implement before contacting a Vellux Technician for further assistance.
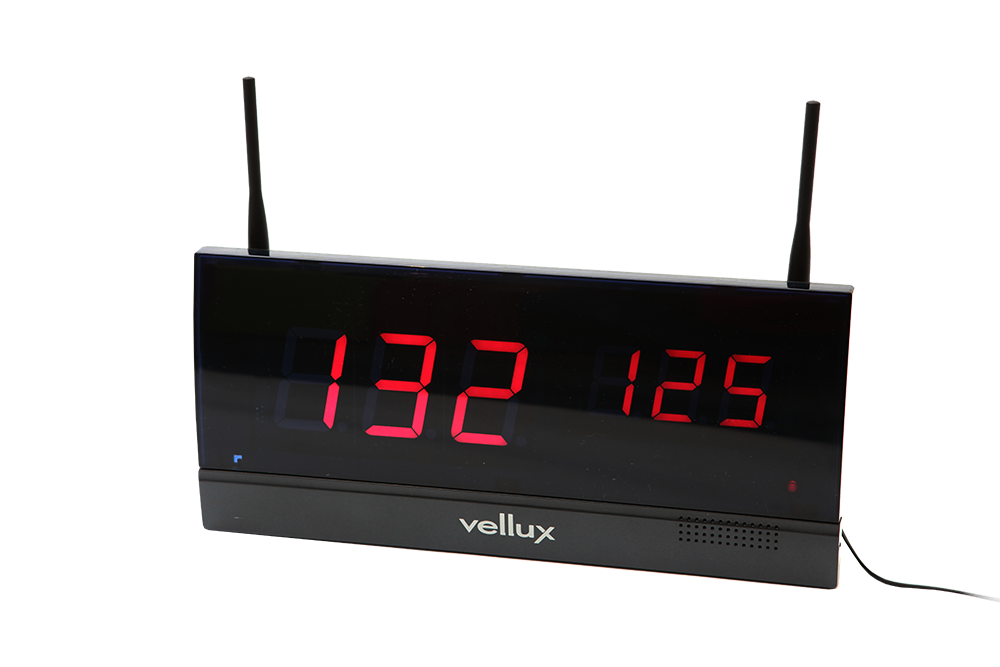
The Monitor

The monitor is the component that generates the frequency on which all the other components operate on. The monitor also contains the programming information such as how many buttons are programmed, what they display, and the capcodes that send out to the pagers. Without this component, the entire system will be offline.
Whenever you have problems with your system:
- Firstly, check if the main monitor is plugged in and that the power switch on the side is switched ‘ON.’ Make sure that you can see the red power indication light. If the monitor does not have power, the whole system will be offline.
- When you press a button, a green light will appear just above the red indication light. This means that the monitor is receiving the call from the button.
- Make sure the antennas are fitted tightly.
- Monitors must NEVER be moved from where they were installed initially by Vellux Technicians as this will affect the signal quality of the entire system. Should the need arise to move the monitor, please contact us and we will advise you on the best way to do this without losing signal strength.
The Buttons

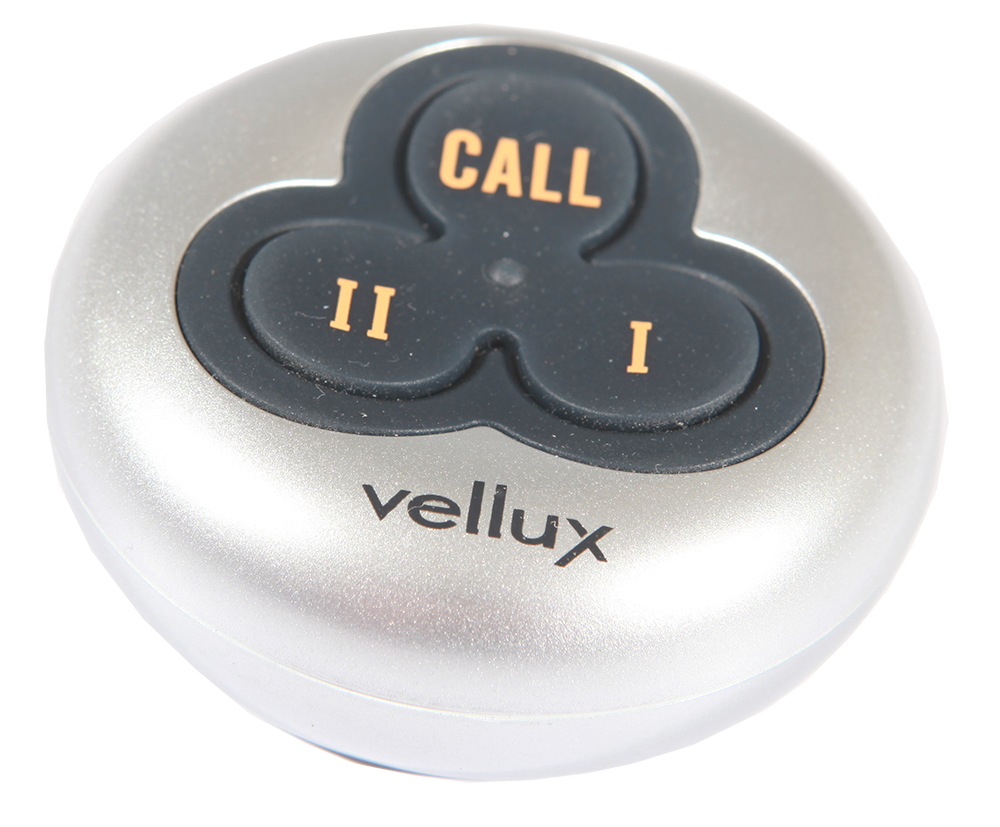
The button is the device that is used to call for assistance. When a button is pressed it sends out a wireless signal that must reach the main monitor.

- Replace the battery with a new one. All buttons are wireless and mostly operate on a 23A-type 12V battery. The battery should last 1 year or about 2500 presses. When you press a button, a light will come on. If this light is dim or does not come on at all then you have to change the battery. To change the battery, follow the below steps:
- First, take the button out of the holder, if applicable. Then remove the screws with a screwdriver.
- Lift the cover off and you should see the battery. In some case you have to lift out the PC board to reveal the battery.
- DO NOT touch the 10 small white switches at the back as they control the programming of the button.
- Replace the battery with a new one, making sure to put the new battery in the same way, positive to positive and negative to negative.
- Put the cover back on (facing the right way) and tighten the screws. You should see a bright light come on when the button is pressed.
- If changing the battery did not solve the issue, then it might be that the button needs to be reprogrammed. You can contact us for a free 15-minute remote session to help you do this.
- The buttons are not waterproof (assuming you didn’t purchase one of our waterproof buttons), and if it comes into contact with water, it will have to be replaced.
- Test the button next to the main monitor, if the button works next to the main monitor but not when you move further away, there might be a problem with one of the signal repeaters or there is no coverage in the area you are pressing the button. If the DIP switches are correct, the battery checked and the button tested while next to the main monitor and it still does not work, it is likely that it would need to be replaced.
- If you press a button and nothing happens, it could also indicate a signal problem, in which case you would have to contact us so that one of our friendly support staff can assist you.
The Pagers

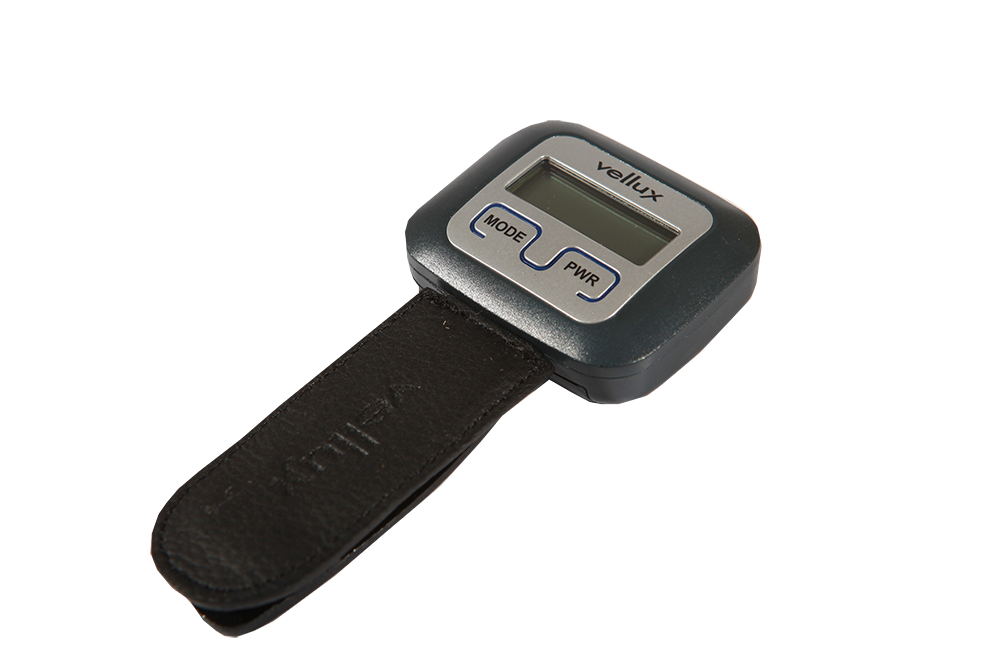
The pagers are the devices that receive and displays the message when a button is pressed. They allow staff to be mobile but still receive the calls for assistance when a button is pressed. Pagers are available in a silicone wrist band or on a metal belt clip that clips onto clothing.
Whenever you have problems with a pager:
- Replace the battery. When a pager battery is low, it will display ‘LOW BAT’ on the screen. Most pagers (Except the VHP5 models) use AAA-type batteries. To change the battery simply:
 Take the pager out of the silicone strap and open the battery compartment at the back of the pager toward the bottom of the device.
- You should clearly see the battery. Take it out.
- Replace the battery with a new one, making sure to put it back the correct way.
- Close the battery compartment lid and put the pager back into the silicone strap.
- The pager should now be functional again.
- If you press a button and it does not show on your pager, first test to see if it is the pager or the button. You can do this by finding another pager to see if that pager gets the call. If you don't have another pager you can always take the button to the main monitor with the pager, press the button and you will see that with each press the monitor will display a green light just above the red power indication light in the bottom right corner. If the light comes on when you press the button, it is the pager that needs attention. If the green light did not come on when you pressed the button, that means the pager probably works and you have to follow the previous pointers to check the button.
- If the pager does not receive signal from the button, the first thing to check is the capcode. You can contact us for a free 15-min remote session to help you setup or check the code on your pager. If the capcodes are correct and the pager still does not pick up the button signal, then it might need to be replaced. Also try inserting a fresh AAA battery. Oftentimes, when the battery is low, the pager does not have enough power to receive a call.
- Remember that pagers are not waterproof and if submerged under water, would need to be replaced. Although the pagers are tough components, it can be damaged by hard knocks or falls, be careful of that.
The Repeaters
 Repeaters are signal boosters that extend the signal of either the buttons or the pagers. These devices are installed where there is a signal shortfall and in larger venues.
If you know the location of the repeaters, it is very easy to check on them to make sure they are working correctly. Do the following:
- Take a button with you.
- Make sure the repeater is plugged in and that the red power indication light is on.
 The repeater antenna must also be upright and extended properly.
- Press your button. If you saw a green light come on, it means the repeater did get the signal from the button and there should not be a problem.
- Sometimes the repeaters are problematic and, in this case, you would need to contact us for assistance.
In Summary
- Always make sure the batteries are new.
- Check the button DIP switches and Pager Capcodes.
- Make sure everything is plugged in and powered on.
- Never move anything without contacting us.
- Keep the equipment away from intense heat and water.
We are always available to help and, in an effort, to assist our clients better we started a YouTube channel that shows you how to do all the above basic troubleshooting steps. You can follow the link to our channel here → Vellux Wireless Paging Solutions.
Our Support Contact Details
Raise a support ticket directly with our technical team here
Contact us on email → support@callvellux.com
Contact us on phone → 018 468 4495
END
Related Articles
How to program the Vellux “Next Customer Please” Queuing System
Here is a quick video, showing you how to program/delete a button onto the monitor. For detailed steps, please read the article below the video. 1. Identifying Your Equipment Equipment could vary depending on the type of installation but generally ...How to Program the VM440TX (2-in-1) Monitor and Pagers
Setting up the Monitor The following steps will guide you on retrieving the capcode (programming code) for the pagers so that they can sync with the main monitor as well as show you how to program the call buttons onto the main unit. Before you ...How to program the VM400 monitor with its pager.
In this article we will look at programming the VM400 monitor, a pager and a button. Below is a full video guide as well as step-by-step instructions and the product manual attached. <br> Retrieving the Capcode from the monitor Switch ...Programming the VHP4 Pager
PROGRAMMING the Pager/Watch: Your Capcode(s): {This code is provided by a Vellux technician - send an email to support@callvellux.com to request your code} TO SET THE CAPCODES: On the front of the pager there are two buttons: MODE and PWR. Take out ...